Your additive manufacturing production partner
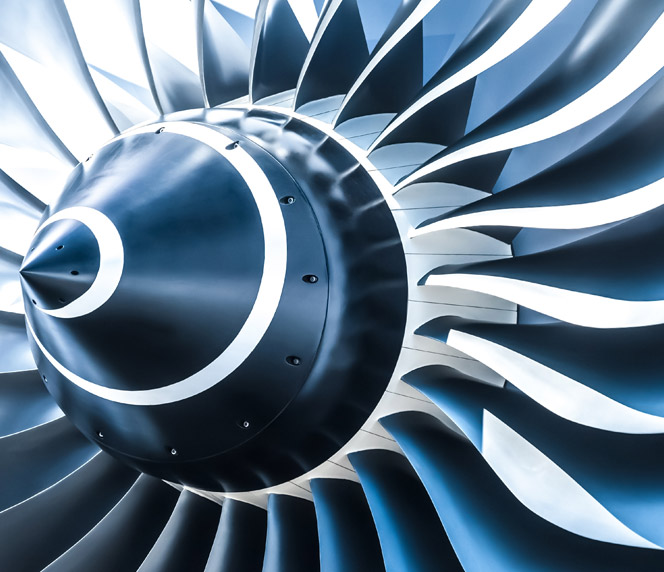
aerospace
aerospace
Producing complex geometries with intricate internal lattices to maintain strength and reduce weight

automotive
automotive
Delivering lighter parts that are optimised for performance ensuring functional strength and structural integrity
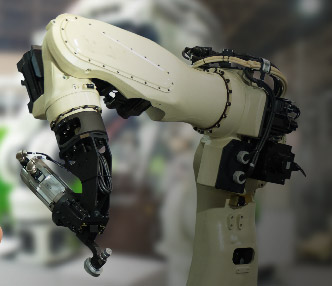
industrial
industrial
Achieving quality builds with high finishes is now a reality with additive manufacturing

motorsport
motorsport
Reducing weight and enhancing structural integrity and strength with one single manufacturing process
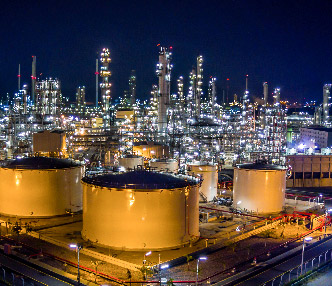
oil & gas
oil & gas
Opening a gateway to the future with additive manufacturing ensuring standards are met

defence
defence
Using additive manufacturing to reduce weight in moving objects and increasing efficiency
Proud suppliers to


Additive manufacturing of Inconel 718: Process maturity through tensile properties
3T whitepaper
Over the last five years 3T has been focusing on bringing the full post-processing capability in house in order to have full control over the value chain.

3T
whitepaper
Click to read the whitepaper How to industrialise the development of CuCrZr for AM
3T whitepaper
Recent developments in the AM industry have created an extraordinary opportunity for material and machine enhancements.
3T
whitepaper
Click to read the whitepaper 3T Additive Manufacturing offer market leading polymer and metal additive manufacturing (3D printing) to a wide range of industries. We offer supply chain solutions providing parts that reduce mass, weight, cost and lead times whilst maintaining safety through prototype, development and serial production.